

You’re snipping herbs for dinner when your kitchen scissors start crushing stems instead of cutting them, even though the blades look sharp. Before you replace them, there’s one easy-to-miss detail worth checking.
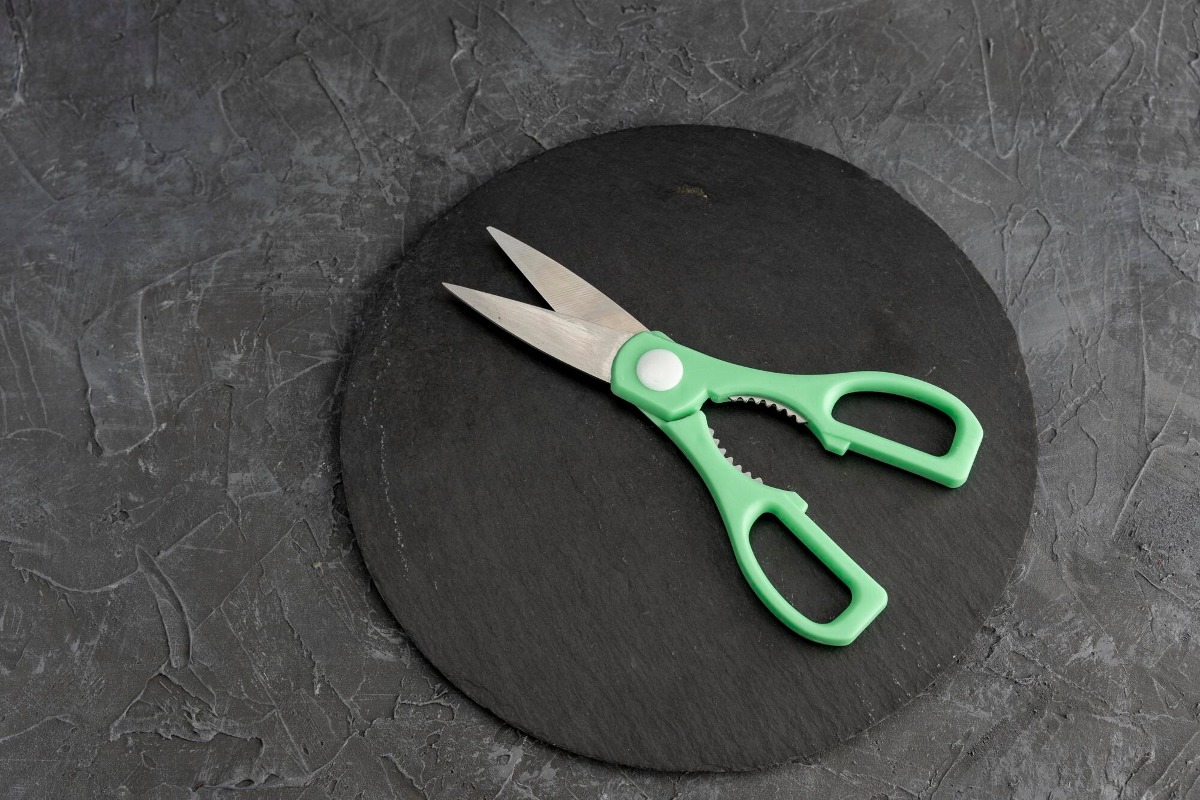
The kitchen scissors snag on a bag of frozen vegetables, leaving a jagged opening. Wiping the blades removes visible residue, but it does not fix every reason the scissors might cut poorly. A small detail that is easy to overlook during routine cleaning may be worth a closer look.
Take-apart kitchen shears open at the pivot for cleaning and sharpening
Take-apart kitchen shears separate at the joint where their 2 blades meet, making the pivot easier to clean and each blade easier to sharpen. That joint is also worth checking when shears seem dull: a loose pivot lets the blades spread apart and fold food instead of slicing it, even when their edges are still sharp.
- Neither bleach nor baking soda, the way to get the brown tea stains out of your mugs in five minutes
- Does rinsing canned beans do anything, and the sodium number says yes
The central screw acts as a fulcrum while the handles force the blades together. Chicken bits, dried herbs, and greasy residue can lodge around that screw, where they are difficult to remove from shears that stay assembled.
Cleaning starts with the pivot
Check how the shears are designed to separate before turning the screw. Some take-apart models release with a partial turn rather than a fully removed screw, and shears without a take-apart design should not be forced open.
With the blades separated, wash each one in warm, soapy water. Pay particular attention to the pivot and use a brush to dislodge trapped food if needed. Rinse and dry the blades and joint completely before reassembly; moisture left at the pivot can encourage rust.
Cleaning matters especially after cutting raw poultry. Do not put the shears back to work on ready-to-eat food until food residue has been removed and the tool has been thoroughly washed. Keep separated blades and the small pivot screw away from children and pets while working.
Check the screw before sharpening the blades
If the shears chew or fold food, first check whether the blades meet along their full length. Reseat or tighten the center screw in small increments if it feels loose. The goal is steady contact between the blades without making the handles difficult to move.
If the edges are genuinely dull, separate the blades so each can rest steadily against a whetstone or suitable scissors sharpener. Follow the existing bevel on the outer face at roughly 20 to 25 degrees, working evenly along each blade. Do not grind the flat inner faces: removing metal there changes how the blades meet and can make cutting worse.
Reassembly requires a snug, movable pivot
After cleaning or sharpening, put a drop of food-safe mineral oil at the pivot and reattach the blades. Tighten the screw until they meet snugly but still move freely, then test whether they cut cleanly along the full length. Both a loose screw and an overtightened one can interfere with cutting.
Do not use kitchen shears on bones or frozen food unless the manufacturer says they are made for that work; hard material can damage the blades. If cleaning and tension adjustment do not restore the cut, inspect the edges for nicks or burrs and the blades for bending. Professional sharpening may help damaged edges, but shears with a damaged pivot or screw may need replacing.


Leave a Reply