

Pumpkin carving can become difficult when a design includes narrow teeth, curved eyes, or small letters. The knife struggles through thick flesh, and pushing harder can cause the blade to move beyond the marked lines. Changing knives may help, but the problem can begin with how much pumpkin remains behind the design.
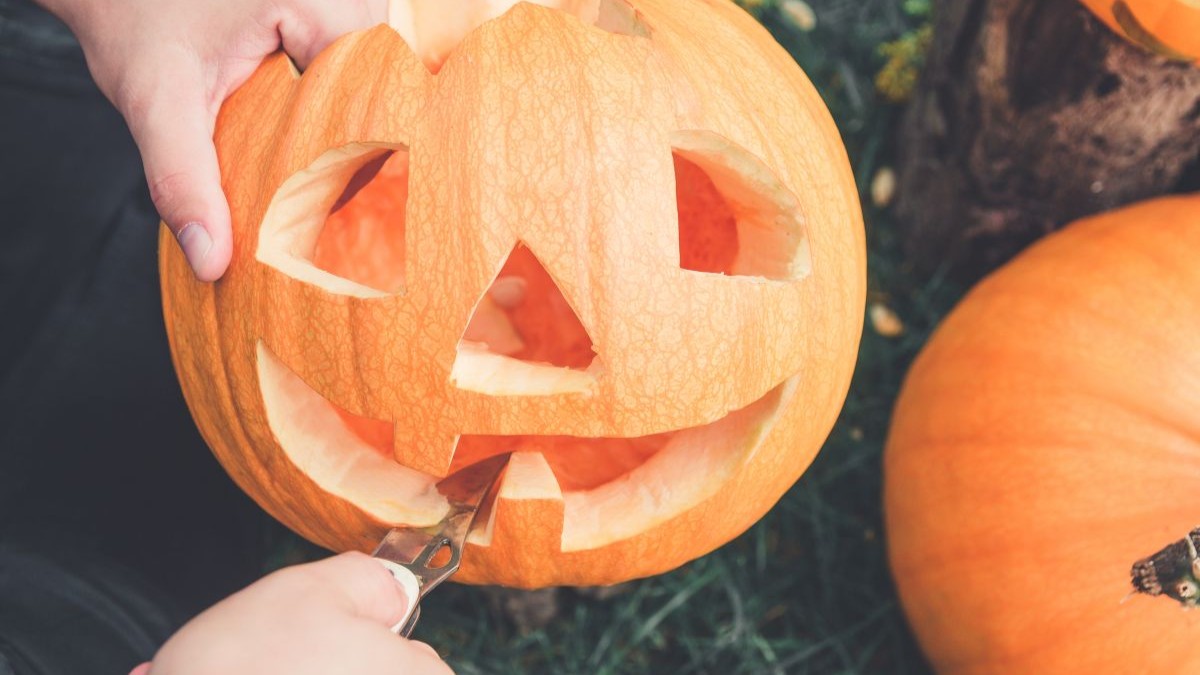
Knifemaker Larry Pidgen of Jantz Knife Making recommends scraping down the interior wall before carving detailed shapes. Removing some of the flesh from behind the planned design reduces the thickness the blade must pass through, giving the person carving more control.
The technique doesn’t require cutting through the pumpkin from the outside. A metal spoon removes material from inside the hollowed shell, preparing the surface before the first detailed cut.
Thin the pumpkin wall before carving the design
Start by opening the pumpkin and removing the seeds and stringy pulp.
Use a large metal spoon to scrape the inner wall behind the area where the face or pattern will appear.
Focus on the section that will contain the detailed cuts rather than removing flesh from the entire pumpkin.
A thinner wall allows the blade to pass through with less pressure, making it easier to follow narrow lines and curves.
The goal isn’t to scrape the shell until it becomes fragile. Leave enough flesh to support the design, particularly around thin sections such as teeth and lettering.
Pidgen also recommends matching the cutting tool to the task. Larger knives can handle the opening and broad shapes, while a paring knife or small saw-toothed carving tool provides more control for narrow details.
A sharp blade requires less force than a dull one, but reducing the wall thickness can make the detailed cuts easier to manage.
A flashlight shows where more pumpkin needs to come out
Some pumpkin designs use thin sections of flesh to let light pass through without cutting an opening through the entire wall.
If a section looks too dark, cutting deeper from the outside isn’t always the answer.
Place a flashlight inside the hollowed pumpkin and move it into a dark room.
The light reveals which areas allow enough illumination through the remaining flesh and which sections still appear too thick.
Use the spoon to scrape more material from the inside where needed, checking the effect before removing more.
This approach helps preserve sections intended to remain intact while creating differences in brightness across the design.
The flashlight also provides a way to inspect the pattern before making another cut that cannot be reversed.
A pumpkin with thick walls may require more force than the design demands. Removing some interior flesh before carving, then checking the result with a flashlight, gives the blade less material to cross and leaves more control over the finished shapes.
Leave a Reply