

Your Keurig takes longer to fill your mug, and a chalky white crust keeps appearing around the reservoir. A quick wipe changes little, so what is going on inside?
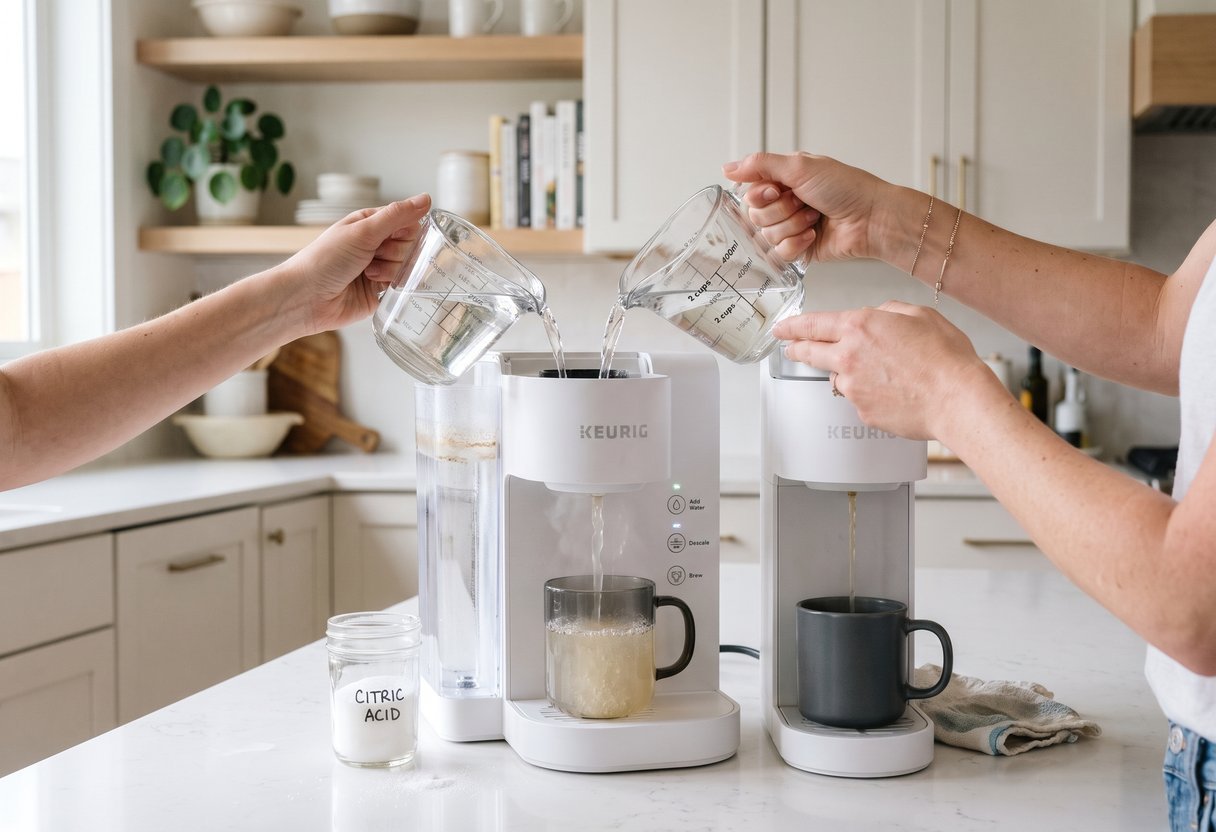
The first cup after a vinegar cleaning still smells sour, even though the Keurig has been rinsed. Wiping the reservoir removes what is visible, but it cannot reach deposits inside the machine. Another vinegar cycle may leave the same smell, while a bottled descaler adds to the cost. A simple change to the cleaning solution offers another way to tackle the crust.
Citric acid dissolves the white mineral scale in a Keurig
Food-grade citric acid mixed with water can remove the white limescale that builds up in a Keurig. The deposits form when calcium and magnesium from tap water accumulate inside the brewer over repeated heating cycles. Citric acid helps dissolve those mineral deposits so they can be flushed out with water.
- Your Fiesta plates have a stamp underneath that dates them, and the pre-1972 colors are the ones collectors chase
- Not bleach and not fabric softener, the way to get the sour smell out of kitchen towels that come out of the wash still stinking
Scale can restrict water flow, leading to slower brewing, smaller cups, or coffee that is cooler than usual. Keurig recommends descaling every 3 to 6 months, closer to every 3 months where tap water is hard. A descale light is another prompt to clean the machine.
Citric acid avoids vinegar’s lingering smell
Vinegar can dissolve mineral deposits, but its sour smell or taste may linger in a coffee maker. Citric acid rinses away without the same lingering odor and is considered gentler on internal seals and heating elements. That makes it a practical choice when the problem is limescale rather than another kind of buildup.
Keurig Descaling Solution is primarily citric acid and water, so a powder mixed at home uses a similar descaling ingredient. The homemade mixture is not an exact substitute for the branded product: Keurig’s published instructions describe its own solution, not a model-specific homemade recipe. Follow the brewer’s manual if its descaling procedure requires particular settings or a different fill level.
A measured solution can be brewed through the machine
Dissolve 1 to 2 tablespoons of food-grade citric acid powder in 4 cups (about 1 liter) of warm water, stirring until no powder remains. Use 2 tablespoons for a stronger solution. Pour the mixture into the cold-water reservoir without exceeding its fill line; if the reservoir is smaller, add the solution in batches.
Place a cup beneath the spout and run brew cycles without a coffee pod, discarding the liquid after each cycle. Continue until the reservoir is empty, following the model’s instructions for entering and completing a descale cycle if applicable. Then fill the reservoir with plain water and run at least 2 full brew cycles, discarding the water each time before making coffee.
Descaling has limits and requires careful handling
Citric acid can irritate skin and eyes, so wear gloves and eye protection while preparing the solution, and keep the powder and mixture away from children and pets. Never mix it with bleach or other cleaners; bleach must also never be mixed with vinegar or ammonia. Rinse the brewer thoroughly rather than adding another cleaning chemical.
Descaling targets minerals, not mold, coffee oils, or every possible cause of poor water flow. Clean the drip tray, exterior, and accessible needle area separately according to the brewer’s instructions. If flow remains restricted after descaling, the machine may need service or a replacement part; if the descale light stays on, check the model’s instructions for completing or resetting the cycle. Keeping up with the appropriate descaling schedule is easier than waiting for a heavy white crust to form.
Leave a Reply